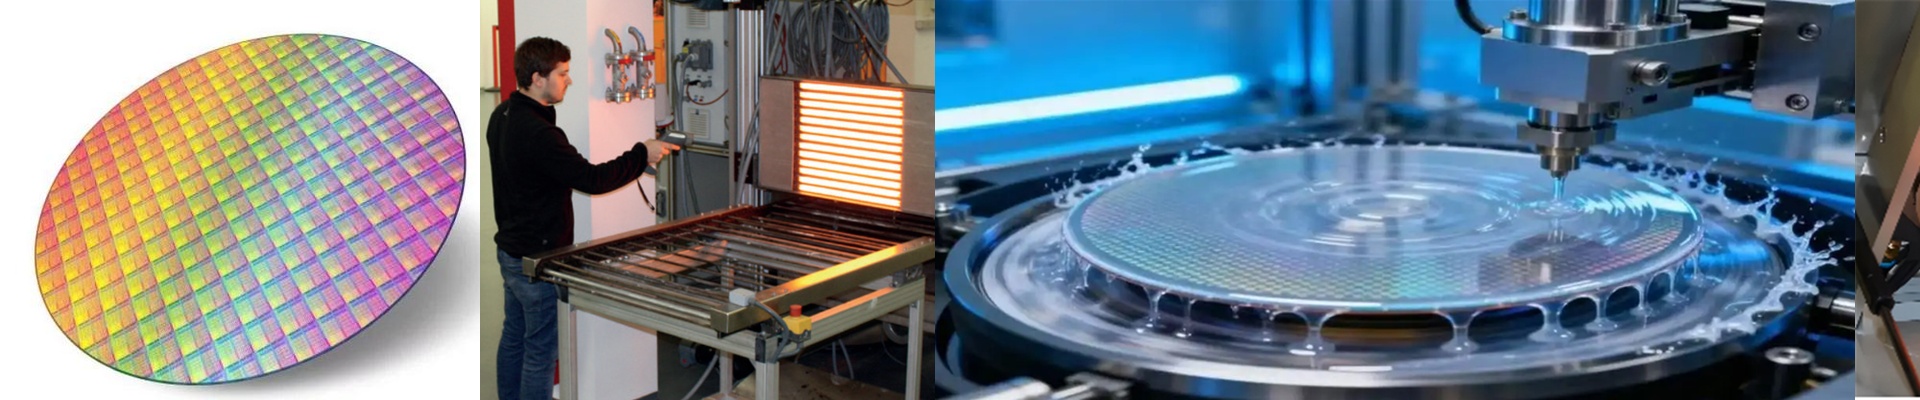
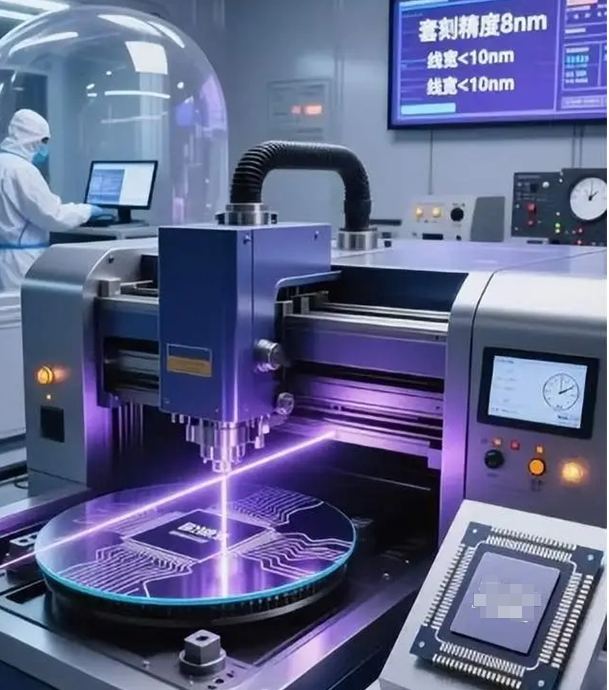
Clean the wafer, and the surface is spotless—but it’s also unstable. Any moisture left behind is a one-way ticket to defects that ride all the way through lithography and etch, then show up as yield hits. We use a wafer drying lamp to hit that moisture with fast, controlled energy. It drives the water off without messing with the surface, so the wafer is ready for photoresist spin, soft bake, and hard bake—with thermal behavior you can count on. What matters under the hood The lamp leans on short-wave energy to heat locally and fast, so the chuck and the surroundings don’t take on extra thermal load. Across the wafer, uniformity holds at ±0.1°C, which protects your overlay and critical dimension budgets. It fits cleanrooms from Class 1 to Class 100 and doesn’t shed particles once it’s in steady state. The system keeps photoresist bake temperatures tight, so soft bake and hard bake profiles stay repeatable. And the output stays stable for 5,000+ hours, with intensity drift under 5%. Why it plays on the line On the floor, time and repeatability are what you pay with. This drying step tightens the loop from cleaning to lithography, and the controlled thermal profile cuts down skin effect and resist reflow variability. You end up with fewer bridges after etch, lower defect density, and less scrap. Energy use drops, too—because the lamp heats the target, not the whole chamber. Reliability means fewer stoppages, fewer lamp swaps, and particle counts that stay where you set them. What to watch for Installation comes down to matching the lamp to the tool’s optical path and aperture. Even a small misalignment can lay down hot spots on the wafer. The lamp performs best when chamber humidity is controlled; if ambient moisture climbs, drying time stretches out. And there is a warm-up window to reach thermal equilibrium—bake that into the recipe so you don’t squeeze the process window.